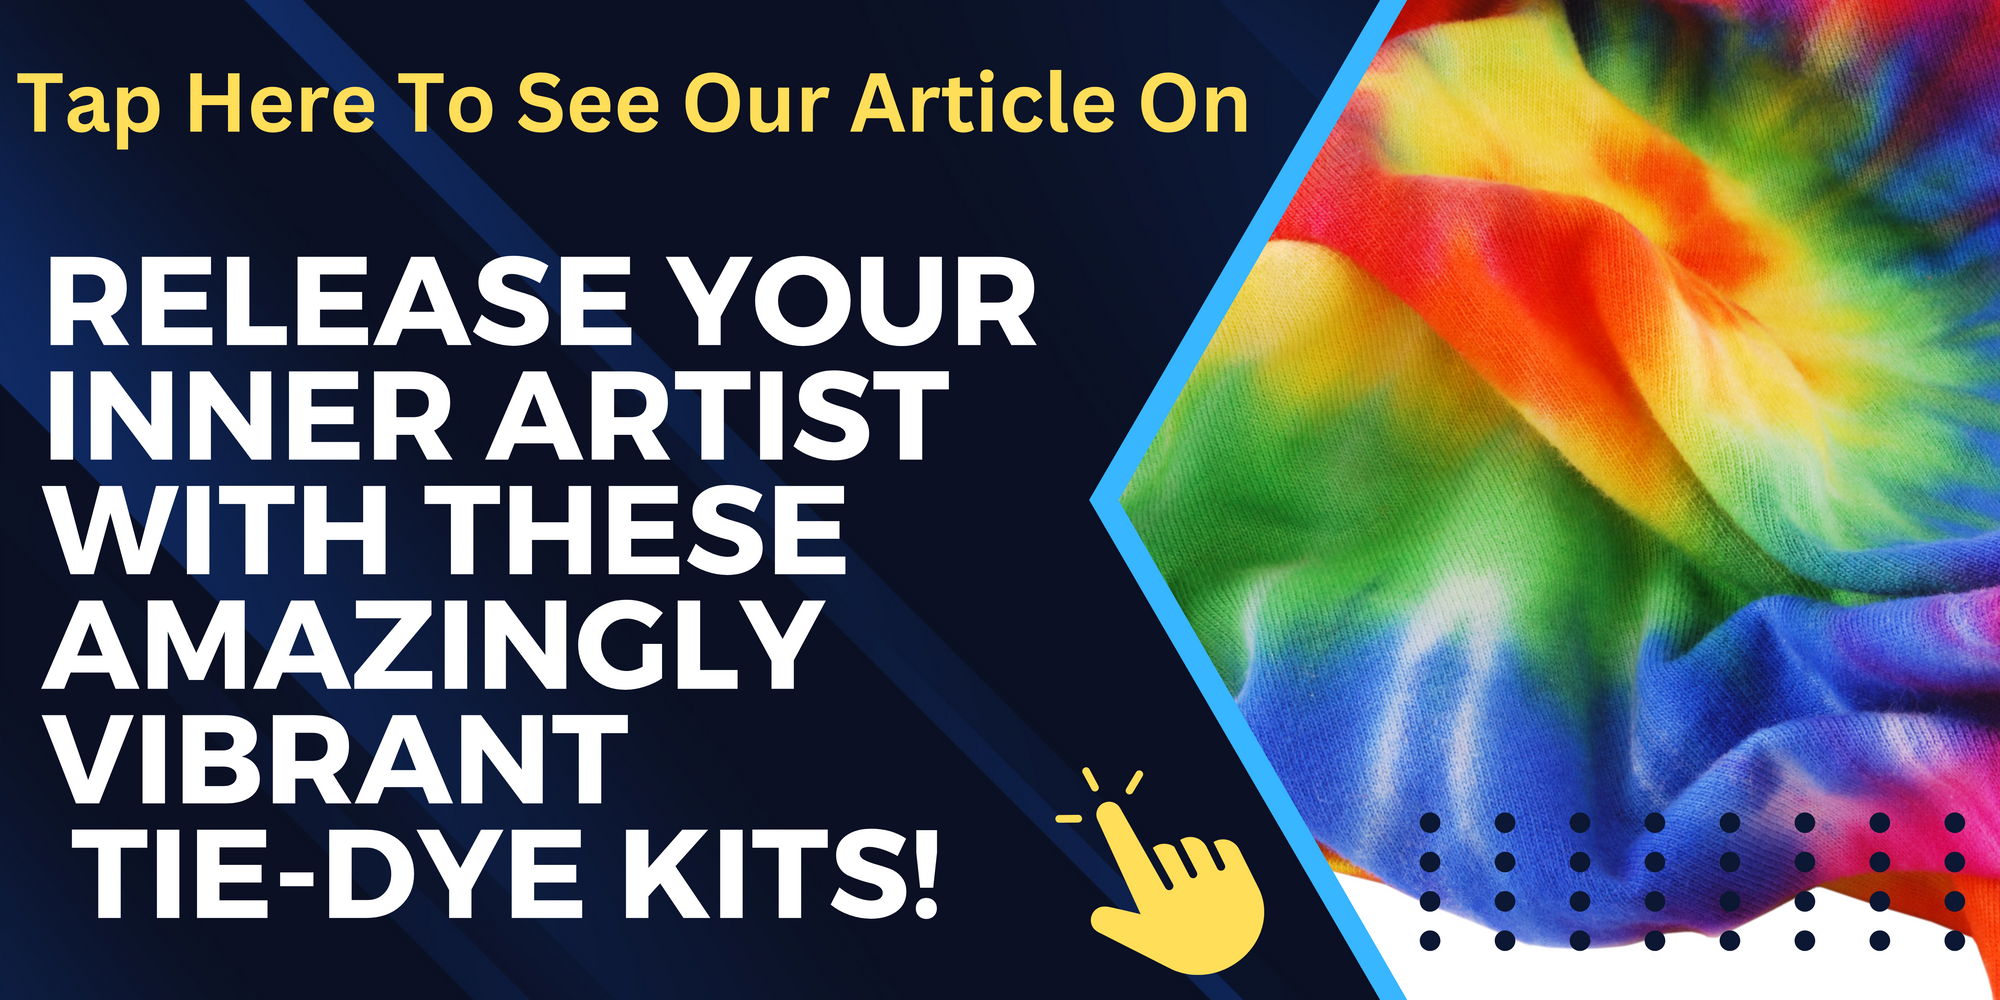


Tie-dye is one of those classic activities that never goes out of style.
Whether you're a master at creating intricate designs with bright colors, or are just looking for a fun way to spice up your wardrobe, tie-dye is the perfect craft project.
Plus, it’s super easy to learn and requires only a few basic materials.
Here are three methods of tie-dye that you can use to create your own unique designs!
The Spiral Method
The spiral method is one of the most popular ways to tie-dye because it looks great and is really easy to do.
To start, lay your fabric on a flat surface and secure the sections you don't want dyed with rubber bands – these will be the white spots in your design.
Then, use a squirt bottle or paintbrush to apply dye directly onto the fabric in random patterns.
Once the dye has been applied, carefully stretch and twirl each section until it forms into a spiral shape and secure it with another rubber band.
Let the fabric sit for 8-12 hours before rinsing off any excess dye. When you're finished, you'll have a beautiful spiral pattern on your fabric!
The Stripes Method
Creating stripes with tie-dye is another popular design choice as they look great and can be done in various sizes.
To get started, fold your fabric into even accordion pleats – this will help keep all of your stripes even in size and length.
Then secure each strip with rubber bands so that dye won't seep through them when you begin applying color.
Use a squirt bottle or paintbrush to add dye directly onto the fabric until all sections have been covered evenly with color and let sit for 8-12 hours before rinsing off any excess dye.
When you're finished, peel off all of the rubber bands from your fabric and voila! You'll have beautiful stripes on display!
The Squares Method
For this method, start by folding your material diagonally so that both sides meet in the middle – this will give you four "square" sections on either side of your fabric (you can also try folding it into triangles or rectangles if desired).
Secure these sections with rubber bands so that no dye will seep through them when adding color later on.
Take a squirt bottle or paintbrush to apply dyes onto each section separately while also allowing some overlap between sections for an extra pop of color!
Let sit for 8-12 hours before rinsing off any excess dye and removing all rubber bands from fabric once dry – now you've got yourself some beautiful squares!
Conclusion
Tie-dyeing clothing is an easy but effective method for sprucing up any wardrobe!
With just some basic supplies like dye, water, rubber bands & cloth materials anyone can become an expert in no time – plus it’s fun too!
Try out one (or all!) of these methods today & get creative with colorful designs for yourself & loved ones! Have fun & happy crafting!