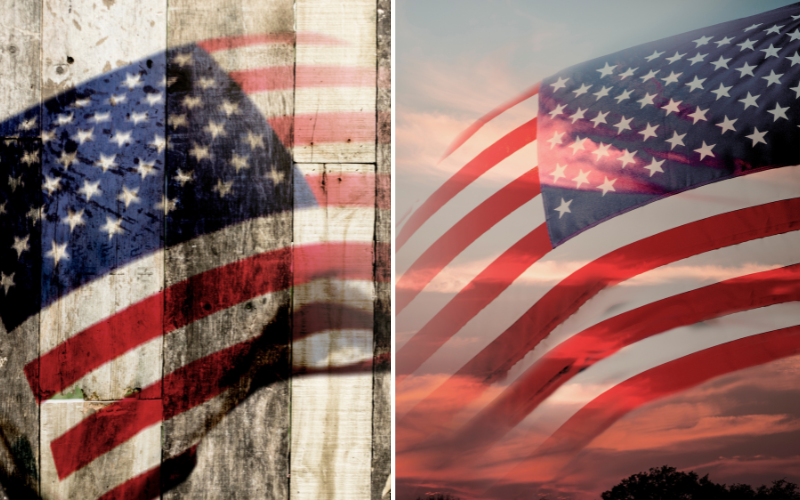


Ready to build an American flag from wood? Our guide cuts straight to the chase, providing you with a simple process on how to make an american flag out of wood. Your journey from lumber selection to the rewarding assembly of your own Stars and Stripes will be smooth and satisfying—perfect for DIYers eager to demonstrate their American spirit.
Key Takeaways
- Choose quality pine wood with smooth grains for a professional look; six 43.25-inch stripes and six shorter 28.43-inch stripes are needed, plus a 10.5 x 14.82-inch Union section, all cut to the same height.
- Stain your wooden stripes with Crimson red and White Wash Pickling Stain for the red and white effects, then assemble the flag using wood glue and clamps, ensuring all parts are flush and securely attached.
- Carve or apply stars using a CNC machine, Dremel, or chisels, then finish by sanding, applying a protective coat, and hanging with D-rings or picture wire; personalize with distressing, edge rounding, or branding as desired.
Selecting the Perfect Wood for Your American Flag
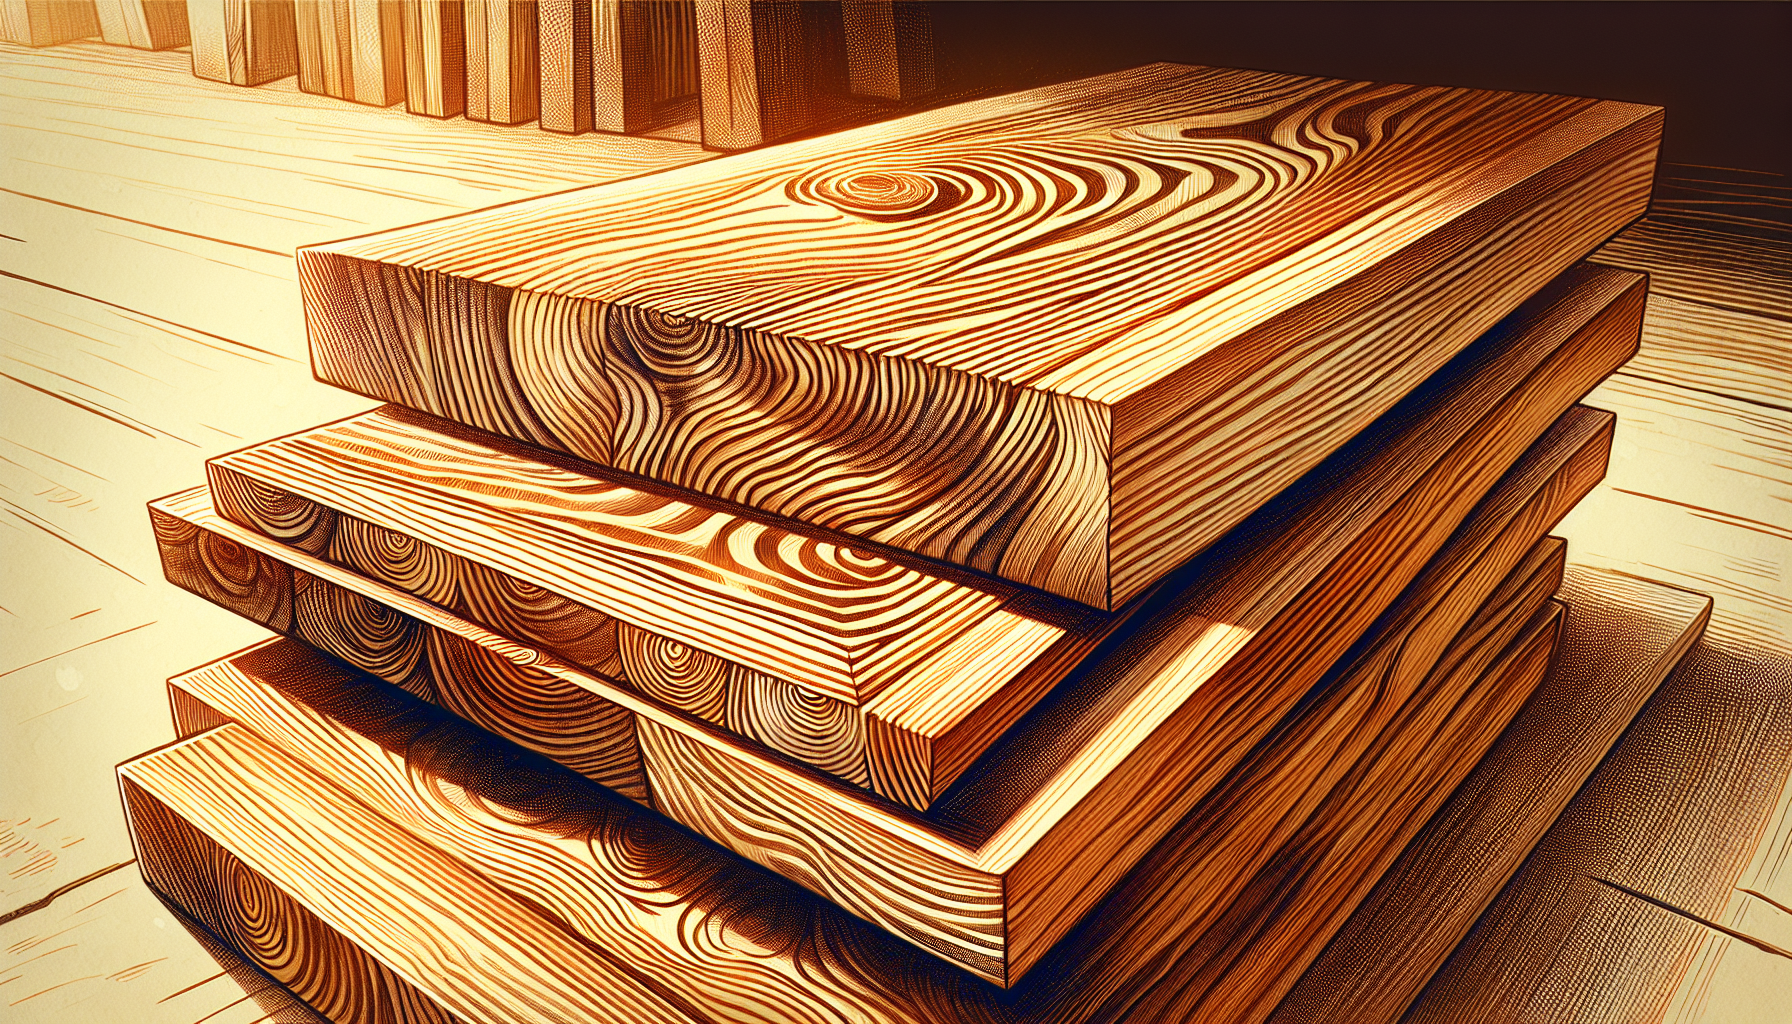
Before diving in, consider the foundation of your wooden American flag - the wood itself. Pine boards come highly recommended for this DIY project, thanks to their workability and aesthetic appeal. But not just any pine boards will do. You want quality lumber, sourced from local sawmills or home improvement stores. Your crafting journey commences here, thus investing time and effort to find the right wood is significant.
The beauty of your flag relies heavily on the details. Consider selecting pine boards with smooth, straight grains. These will enhance the look of the white stripes on your flag. Whether you meticulously cut the pine boards to size or opt for pre-made 1x2s, ensure uniformity for a neat, professional look.
Measuring and Cutting the Stripes for Your Wooden American Flag
With your pine boards ready, begin by cutting them into stripes. We are aiming for six longer stripes measuring 43.25 inches each. These will provide the main body of your flag. But don’t forget about the shorter stripes. You’ll need six of these, each measuring 28.43 inches, to align perfectly alongside the Union.
Using tools like a table saw or a circular saw with a straight edge, make sure each stripe is cut to the same height, typically 3/4 inches. This will ensure the stripes match the height of the Union, giving your wooden American flag a consistent look. Remember, precision is key here, so take your time and enjoy the process.
Preparing the Union Section
Next, we focus on the Union section. This area, where the stars will be placed, should be cut to a dimension of 10.5 inches by 14.82 inches. To achieve this, use a 1x12 piece of pine and a chop saw for length and a table saw for width.
Don’t forget to check the thickness of your Union. It should match the stripes, typically 3/4 inches. Use calipers for accurate measurement and a table saw for any necessary trimming. This ensures a level and cohesive appearance that will make your flag look professionally crafted.
The Art of Staining: Achieving the Iconic Red and White Stripes
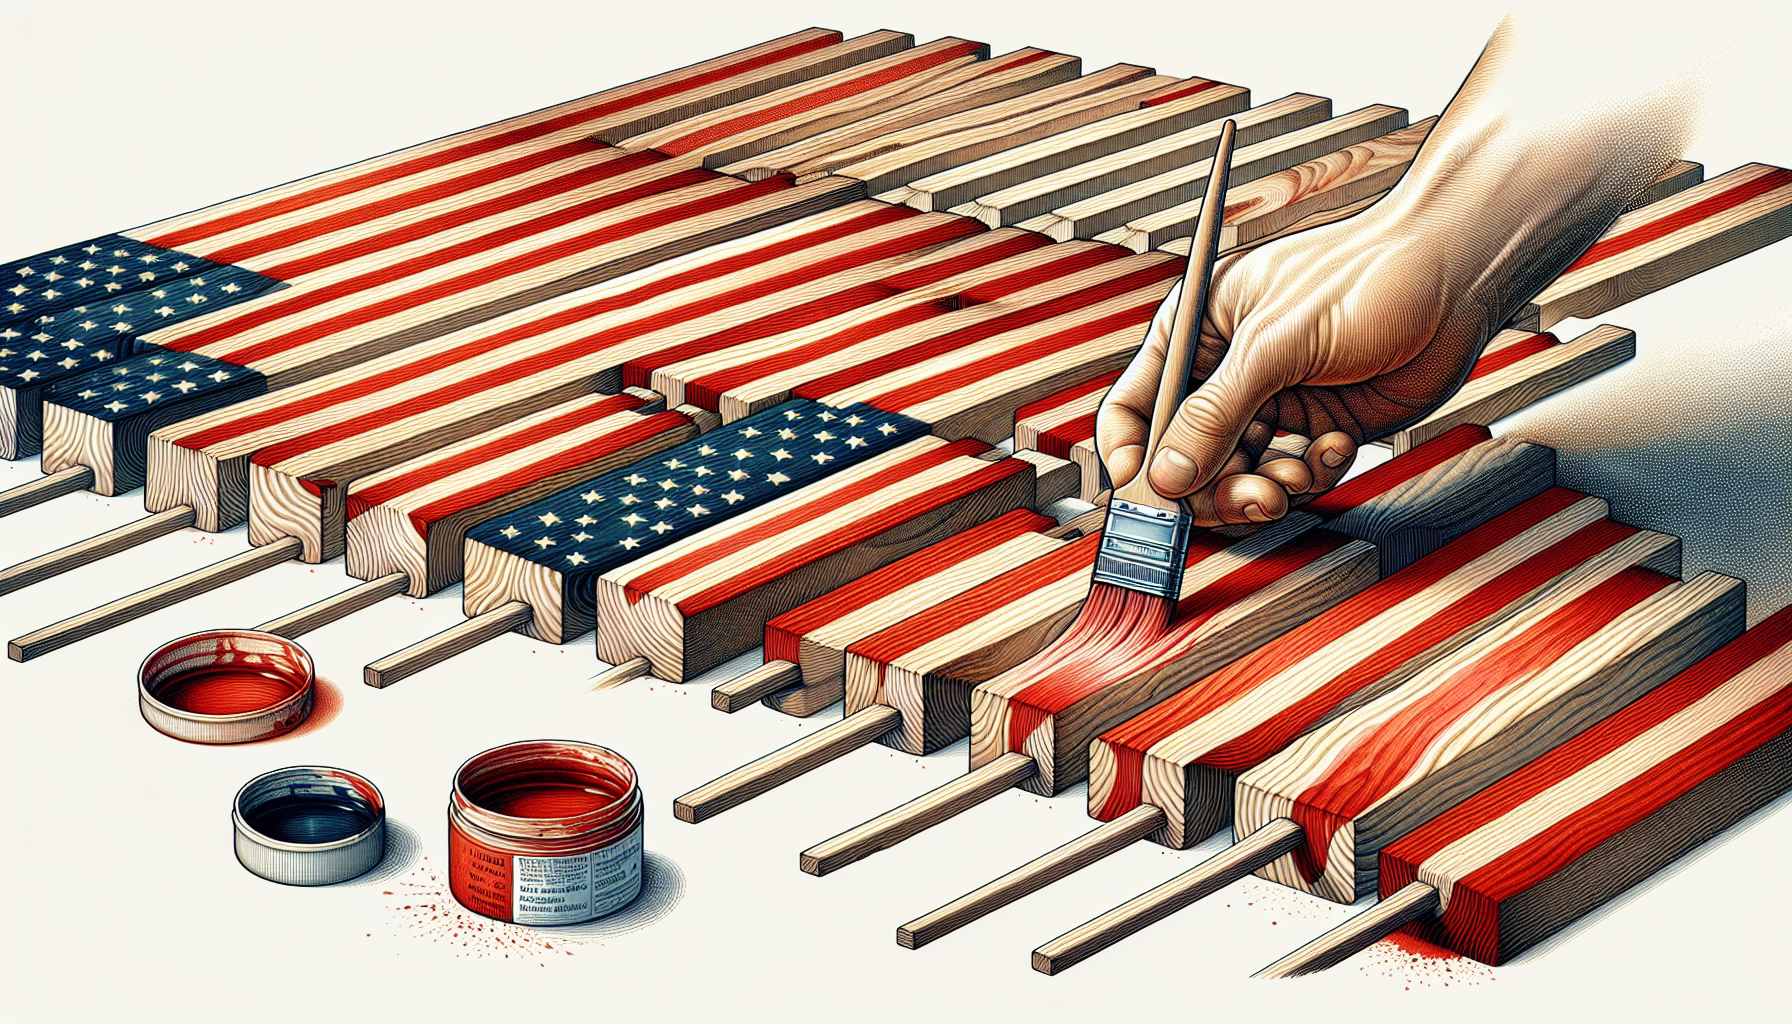
With your stripes and Union cut out, proceed to color the iconic red and white short stripes. For the red stripes, a water-based tintable stain colored red, like Minwax® Express Color™ “Crimson” is recommended. To maintain the natural look of the white stripes, a Water Based ‘White Wash Pickling Stain’ works best.
When applying the stain, use high-quality brushes and specialty foam brushes in combination with a putty knife. This will ensure a smooth finish and prevent bleeding outside the desired area. Patience is key here, as you’ll need to allow at least 24 hours for the stain to thoroughly penetrate and set into the wood.
Assembling the Base of Your Rustic Wooden American Flag

With your stained pieces prepared, commence the assembly of your rustic wooden American flag. Here’s how:
- Start by applying a heavy bead of wood glue on the edges of the stripes. When you tighten the clamps, some glue should squeeze out - a sign that you have enough glue coverage.
- Attach these stripes to the plywood backing using wood glue and pipe or bar clamps.
- Make sure to align the edges for a tidy look.
While the glue dries, it’s a good idea to clamp straight strips of wood on both sides of the glued stripes. This will keep the surfaces flat and aligned. Don’t forget to add 1x2 support braces to the back of the flag using glue and nails. This will ensure additional reinforcement and stability.
Affixing the Union
Affixing the Union to the stripes is the next step. Make sure the grain of the Union matches the stripes and glue them together to create an invisible seam once attached. Use pipe clamps and a straightedge to align the stripes and the Union. By pulling them tightly together, you’ll ensure the edges are flush for a seamless look.
After clamping the Union and stripes, allow them to dry to facilitate proper glue setting. This will secure the entire final assembly. Remember, any excess glue should be wiped away with a damp cloth immediately after clamping to achieve a clean finish.
Carving Stars into the Union: Tools and Techniques
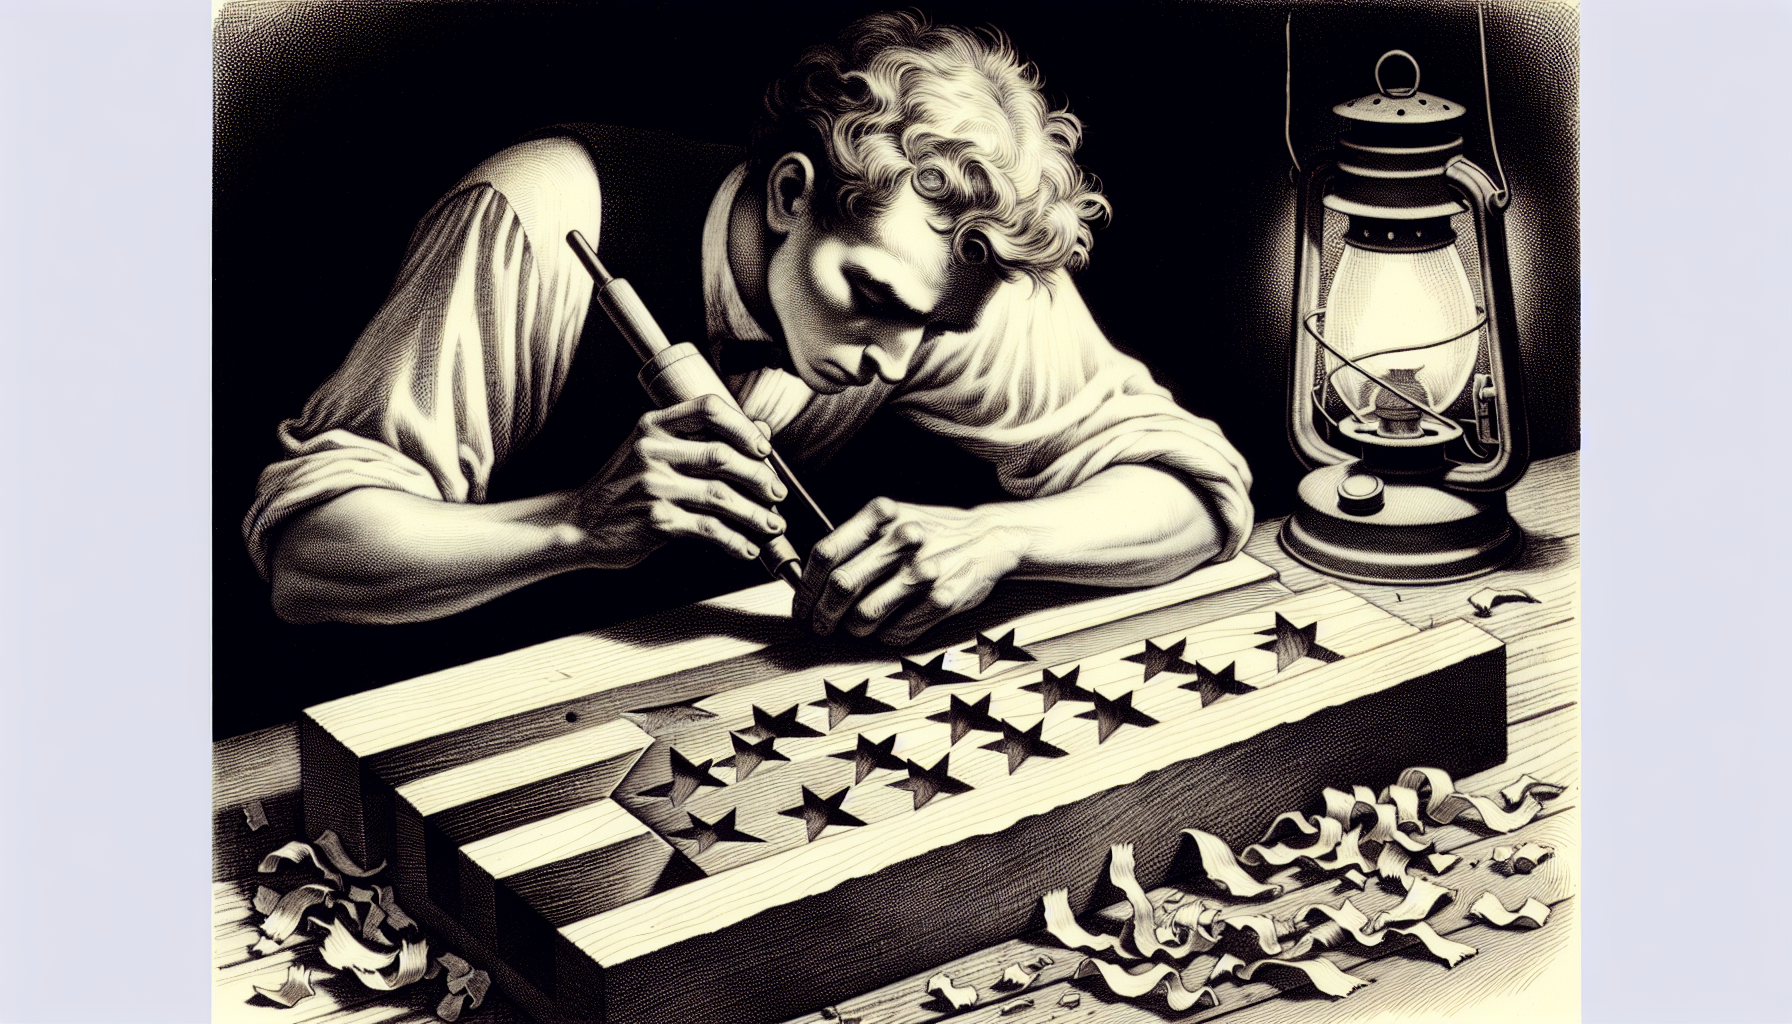
The stars on the Union are a key element of any American flag, and getting them just right is crucial. If you have access to a CNC machine, such as the Shapeoko 4 XXL, it’s recognized for its precision in carving stars on wooden American flags. Using V-carve bits with a CNC machine enhances the detail of the stars, with accurate Z-axis setup and even stock thickness being crucial for sharp points.
Don’t have a CNC machine? No problem. A Dremel rotary tool or alternatives such as a stencil kit, white paint, vinyl, or pre-made wooden stars offer versatility in creating stars.
For those who enjoy the detailed work of hand carving, the YOGEON wood carving set, which includes various types of chisels, a carving knife, and shorter handles, provides control during the intricate process of carving stars by hand.
Finishing Touches for Durability and Aesthetics
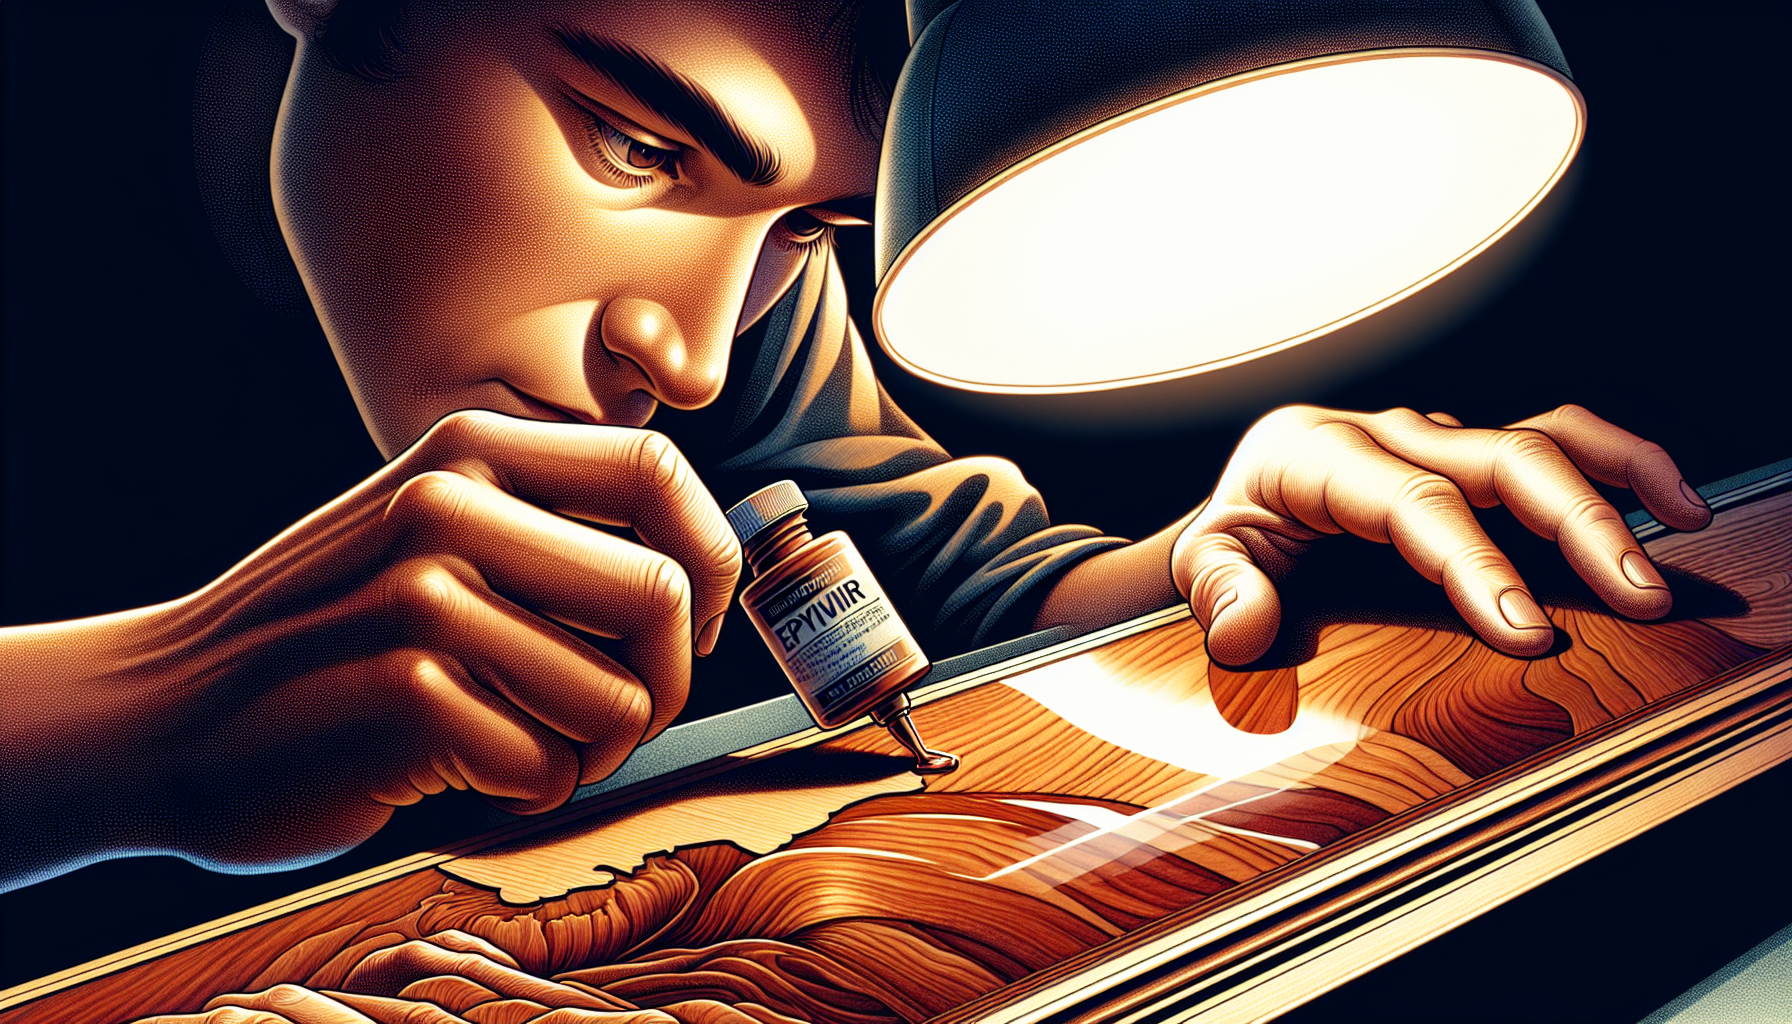
Almost finished! Now, as the final step, proceed with the finishing touches. Start by sanding the Union section and any other cut wood thoroughly. This ensures that all tool marks are eliminated and the surface is smooth, ready for the stars and protective finishes. To protect your flag, apply a clear protective finish, such as Minwax® Polycrylic® or polyurethane. For a more refined, glossy surface, consider an epoxy coating.
Lastly, you’ll need to prepare your flag for hanging securely. Attach heavy-duty D-rings to the back and use picture wire to mount it properly on a wall. With these steps, your wooden American flag will be both beautiful and durable.
Customizing Your Wooden American Flag
Next, we focus on customization. This is where you can truly make a wooden American flag your own. For a rustic look and aged appearance, you can display the knots or rough side of the wood outward, distress the wood with a sander or tools, or lightly burn it to bring out the grain.
If you prefer a more refined appearance, use the following techniques to enhance your creation:
- Use a handheld router with a 1/4” roundover bit to soften the edges, giving your piece one edge that stands out, including the top edge.
- Lightly torch the edges for a subtle, charred effect before applying the final protective coats.
- Consider branding your creation with a custom logo or signature using a branding iron.
- Use stencils for painting or attaching wooden stars, ensuring clean lines when touching up by sealing the stencil edges with Mod Podge.
These techniques will make your creation unique and add a professional touch.
Displaying Your Handcrafted American Flag
Upon completion of your flag, proceed to display it with pride. Keep in mind that when displaying your wooden American flag indoors, the union stars should be in the upper left corner, following proper flag etiquette. Using a mounting bracket or a sturdy picture hanger can ensure the wooden flag stays securely on the wall. If you prefer not to damage walls, adhesive strips or hooks are viable options for hanging the flag, as long as they can support its weight.
For outdoor displays, use weather-resistant hooks or brackets and place the flag in a location that protects it from direct sunlight and extreme conditions. Consider hanging the flag off a balcony, banister, or railing for a regal appearance or use multiple flags for greater impact. If you’re displaying the flag at a business or public venue, position it at a prominent location and correct height, respecting the U.S. Flag Code.
Caring for Your Wooden American Flag
Maintaining your handcrafted flag is vital for its longevity. To clean it, use a soft, dry cloth to gently wipe away any dust or dirt. For flags with a glossy finish, a wood cleaner designed for polished wood can be employed with caution to avoid harsh chemicals.
With time, you might find the need for touch-ups on painted areas. Apply matching acrylic paint with a fine brush to carefully fill in chips or scratches.
Finally, avoid exposing the wood flag to extended periods of direct sunlight to prevent color fading and wood damage.
Summary
Crafting a wooden American flag is a journey, a labor of love. From selecting the perfect wood, measuring and cutting the stripes, to staining, assembling, and finally displaying your creation, each step is a testament to your dedication and patriotism. Whether it’s a project for yourself or a gift for a loved one, the process of making a wooden American flag is a rewarding experience that results in a unique piece of art, a symbol of pride and freedom.
Frequently Asked Questions
What kind of wood stain for American flag?
For an American flag wood stain, you can use a water-based tintable stain for the red stripes and Minwax® Wood FinishTM for the various colors like "Indigo" and "Crimson". Remember to apply the stain lightly and use a foam brush alongside a putty knife for precision.
What are the measurements for a wooden flag?
The measurements for wooden flags vary based on the size you choose: 13" x 24", 19 12" x 37", and 26" x 48" are made with different thickness boards. You can also find sizes like 24" x 13.5", 32" x 16.5", and 36" x 19.5" available, with custom options for various departments.
How do you make flags on wood?
To make flags on wood, you can start by dismantling a wood pallet and cutting the wood into strips. Then, sand, stain, or paint the strips in red, white, and blue colors before reassembling them into the shape of a flag and hanging it from a pole.
What kind of wood is used for wooden flags?
The kind of wood used for wooden flags is Pinewood, as it is carefully handpicked to ensure quality and the fluid flow of the thirteen stripes.
What type of wood is best for making a wooden American flag?
Pine boards are the best choice for making a wooden American flag because of their workability and aesthetic appeal.
You Might Also Like...
 Zubia A